“We don’t want posed photos” is a common warning from
young people these days. What they mean is that they want to appear natural and relaxed in their family portrait. A certain amount of
posing is a necessary evil to achieve what they want. Of course, it’s up to the photographer to make this as painless as possible.
There are some general “rules” of group portraiture that have been around since Rembrandt. Never align faces vertically or horizontally. The reason for this rule is that curves, triangles, and diagonals create a more dynamic flow and are more pleasing to the eye. Straight lines are static and tend to align with the edges of the image. Another rule of thumb is that faces never look directly at the camera, as if they do, asymmetrical features become more apparent and eyes stare. Now, the rules are meant to be broken, but first you have to know them.
While couples can be considered a group, I’ll start with a group of three. The easiest of numbers, three people form an automatic triangle. The heads can be placed in an unequal triangle, base down. The space must be varied, but similar in distance. Other successful patterns are the inverted curve with the middle person taller, a flatter, tapering curve with the smaller person closest to the camera, and a stacked triangle in a vertical format. Groups of three are usually seen closer together when people on the outside face the center. Enough body should be included in the composition so that it does not appear bodiless. A general rule of thumb is to leave twice as much space above the heads as below the feet or hands in the image. The space between the heads is measured from the center of the eyes, not from the edge of the head. Please do not cut the wrists and ankles.
The hands play an important role in the language of the portrait. To look graceful and slender, hands should present their edges to the camera. On the contrary, to appear strong, the backs of the hands must face the lens. Never allow your arms to hang vertically, but find something for your hands to hang so that your arms are bent at the elbow. Armrests, furniture, and other people are useful tools to create a dynamic angle for your arms.
Shoulders look best when placed at a slight angle to the camera. Views from the back emphasize the curve of the spine and the protrusion of the jaw instead of the width of the shoulders. Too much of an angle will make the near shoulder look too big, due to foreshortening.
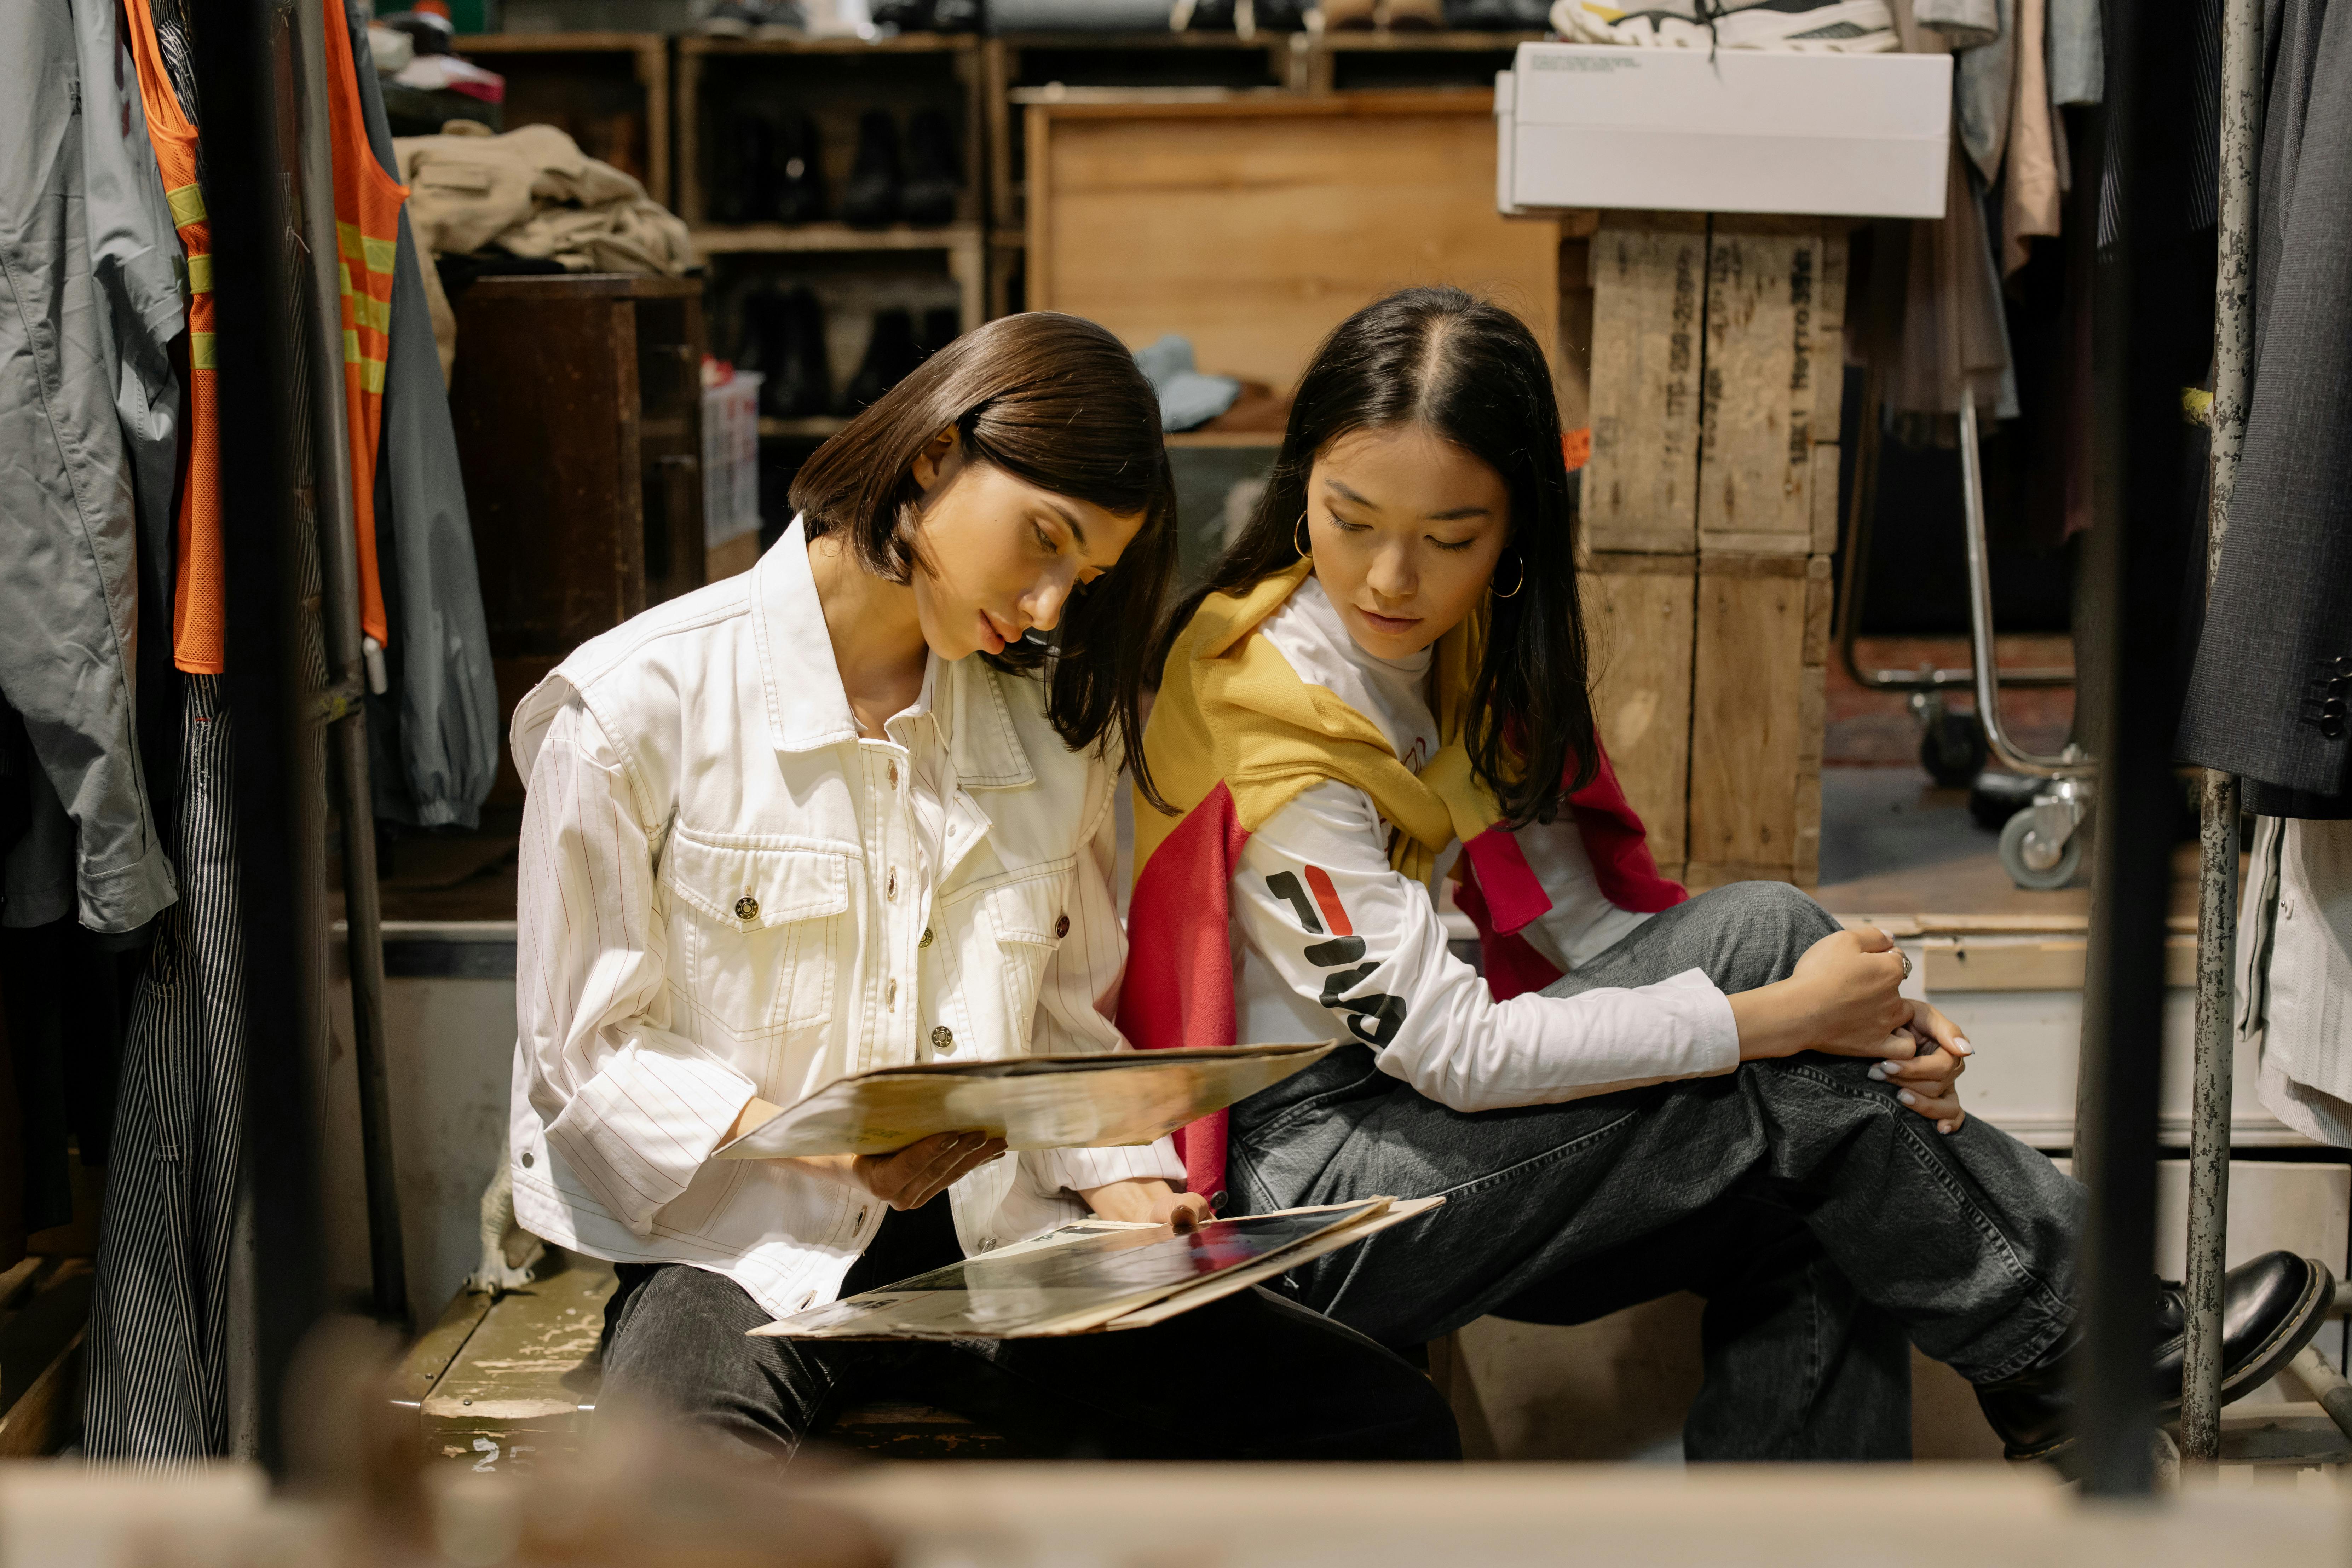
Groups of four present an interesting challenge. You don’t want to put a head in each corner, making a square. People are basically made up of curves, not straight lines, and they appear mechanical and lifeless in this setup. So what can you do with four people? An inverted curve can be formed with the two tallest people in the middle. Make sure one is taller than its neighbor. For a more compact composition, overlap the shoulders, fitting them together like a puzzle. This brings the heads closer together without dead, empty spaces between the shoulders. Remember to turn the outer faces toward the center for a cohesive look. Other shapes that fit the quadruple portrait are an off-center vertical diamond or rhomboid, a staggered vertical or horizontal zigzag line, and an inverted curve of three with the smallest below in the center. Note that the vertical faces must never be in line.
Five is an interesting and easy number to pose. The space becomes more important, informing the viewer of the warm relationship between family members. Basically, the faces are placed in two triangles, the bottom middle person shares the triangles. A vertical composition stretches space vertically and compresses spaces horizontally. Six faces can be grouped as two even triangles, one slightly taller than the other. Classic oil paintings of large groups of people contain masterful examples of group poses.
Ambient settings play an important role in the balance of a portrait, creating a foil of forms against the most important faces. If there are masses of light areas, they must be balanced by the appropriate mass of darker areas elsewhere in the image. The eye follows an omega curve, starting at the lower left corner and wandering through the centers of interest (faces) until exiting at the lower right corner. The centers of interest should fall along this comfortable line.
The photographer’s skills hold the interest of his subjects with a consistent pattern, while making decisions regarding the height and placement of faces relative to the overall pattern. Time should be spent on smoothing clothes without appearing too fussy. All eyes should be in one direction, i.e. on the photographer for a cohesive look. An exposure in which a person looks at the camera lens cannot be considered a viable pose. Try to make the process fun so your subjects appear relaxed and natural. To quote a famous philosopher, they will never look younger.


